
These are the instructions for Windows 7, Windows Vista, and Windows XP, however they may also work for Windows 2000 Professional, Windows 98 or Windows ME.
Install the FreeEMS firmware basic dev kit from here :
http://tools.diyefi.org/#win
This includes GnuWin32 make and coreutils.
Extra stuff that you may want
Can be obtained from the following site:
http://gnuwin32.sourceforge.net/packages.html
You may choose to install some of these at your option.
- zip
- grep
- bc
- findutils
- bzip2
- diffutils
- tar
- file
- grep
- gzip
- patch
Again, unless you know better, use the default path : "C:\Program Files\GnuWin32". On Windows Vista 64 and Windows 7 64 bit, the default path is "C:\Program Files (x86)\GnuWin32\bin".
Now bring up a command window to test the new installation. It is important that you bring up a new one after the installation as important variables will not be applied to command windows that were open before you did the install. Run make by typing "make" into it and pressing enter. It should complain that it can't find a Makefile. Then do the same for GCC by typing "m6811-elf-gcc" in and pressing enter. This should complain that there are no input files.

You can download release code from http://download.freeems.org however, what you should actually do, if you are planning to work on it, or even just try new code from developers, is follow this excellent thread on getting the latest and greatest from Git :
http://www.diyefi.org/forum/viewtopic.php?f=41&t=547
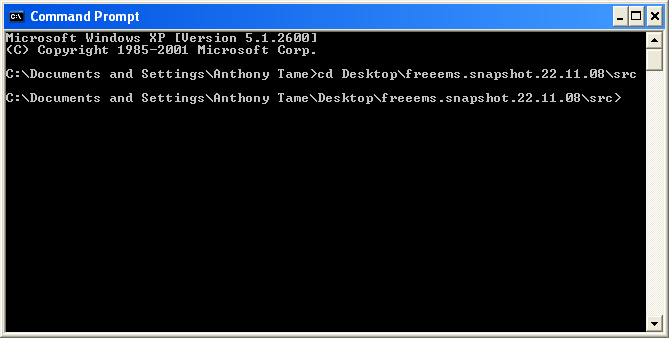
Open up a new command window and cd to the src directory inside the latest freeems directory you have.
Now cross your fingers and type "make all" and press enter :-) You should be confronted with a successful FreeEMS build like this
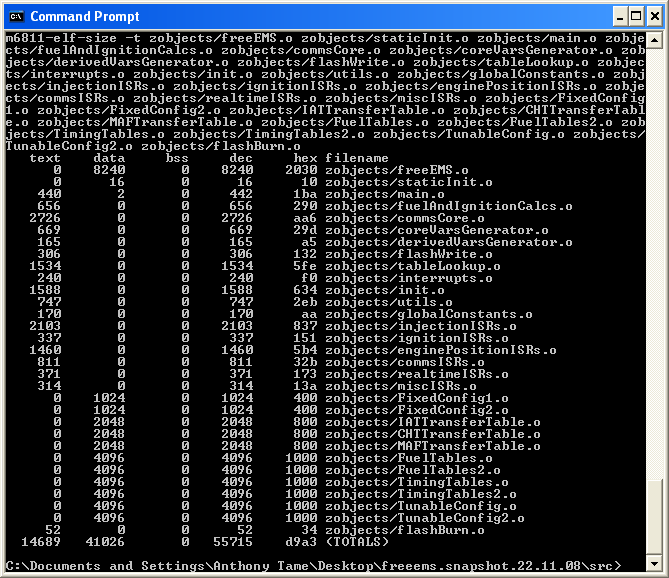
Congratulations, you just built your first FreeEMS firmware S19 file :-)